marmellata di prugne
plum jam
This jam is my childhood favourite! There are other mature flavoured jams I have come to adore as an adult, namely cumquat & quince, however, as a child, it was plum jam for me! Chunky cut slices of bread, toasted and plastered with thick creamy butter, then smeared over with plum jam. Uh that memory serves me well. Of course, in la pasticciera Italiana (the Italian pastry kitchen), marmellate are heavily employed as fillings for crostate (tarts) with lattice tops. They look and taste like heaven on earth. Inevitably, whether on toast or as a crostata filling, you are on a winner with plum jam.
Did I mention how fortunate we are to have plum trees in my mum’s garden? Yes, we are so lucky! There are two plum trees still growing strong after all these years in my mum’s garden, and she generously dropped off this basket full earlier this week.
We are not certain of it’s varietal name; we think Santa Rosa for its red flesh, with medium sized fruit and deep red skin. You see my Dad planted these tress back in the early 1960’s when he first arrived to Australia from Italy. As he is longer with us, we are none the wiser! But it doesn’t matter, regardless, these plums are delicious to eat; initially sweet with a mild tartness at the end! And I love that something my Dad planted and grew is still alive today and feeding us still. My Dad was such a marvellous provider for us and he continues to do so! These are very special plums in my eyes!
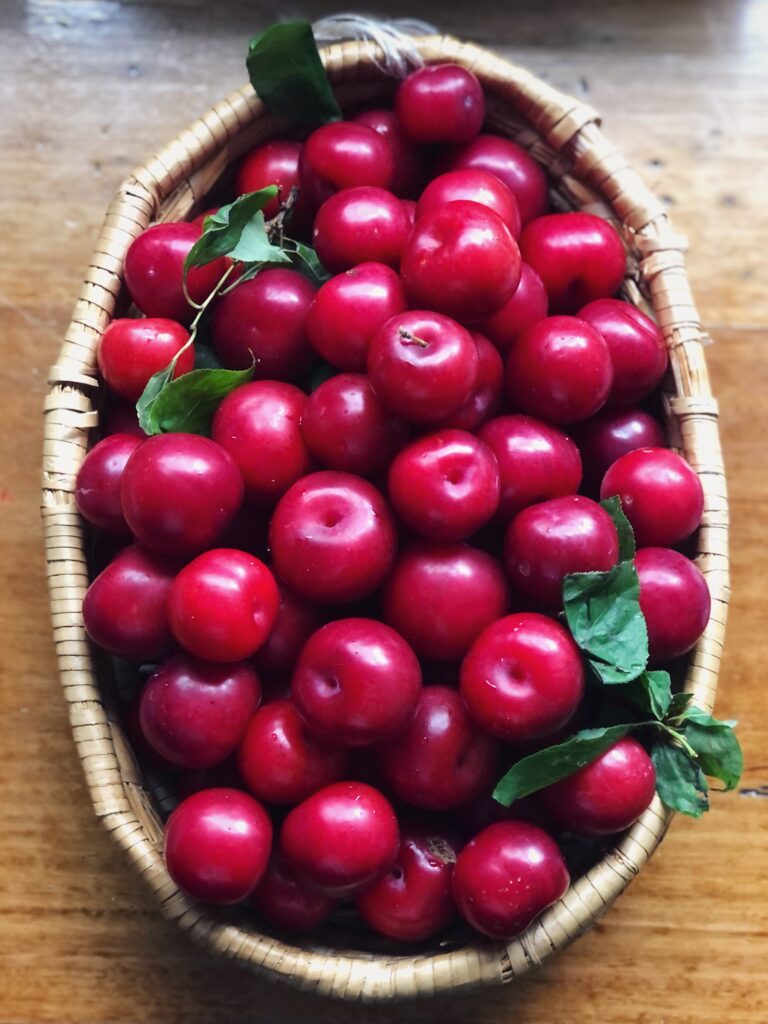

These glorious plums from my mum’s garden
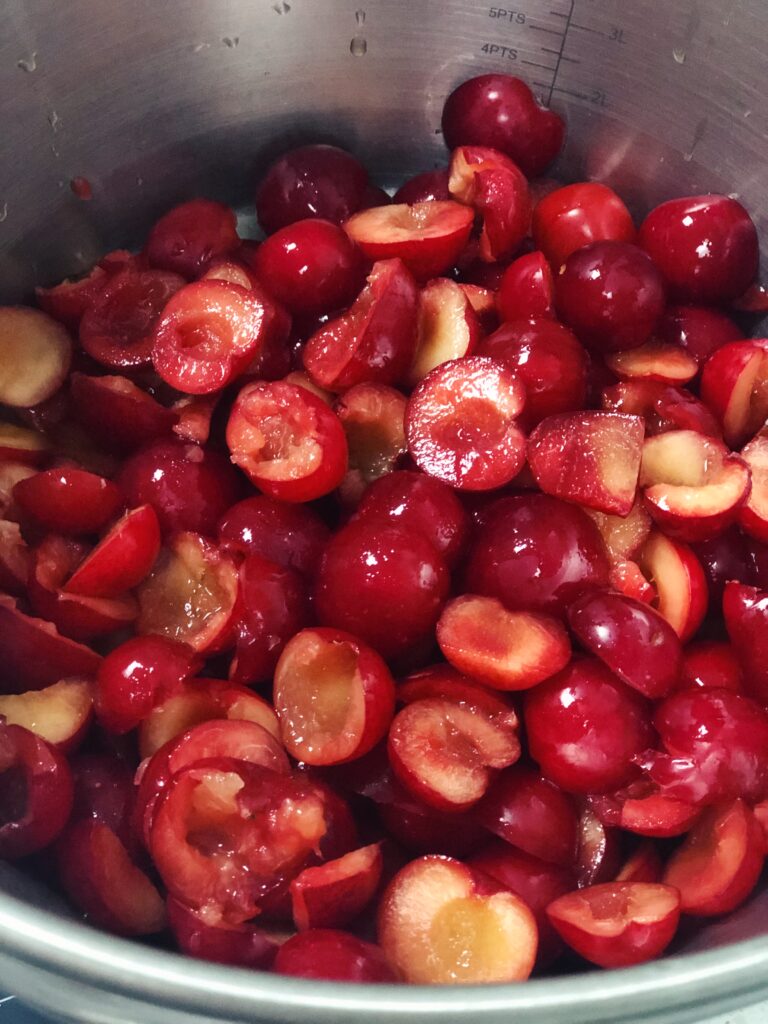

Plums ready for preserving into jam
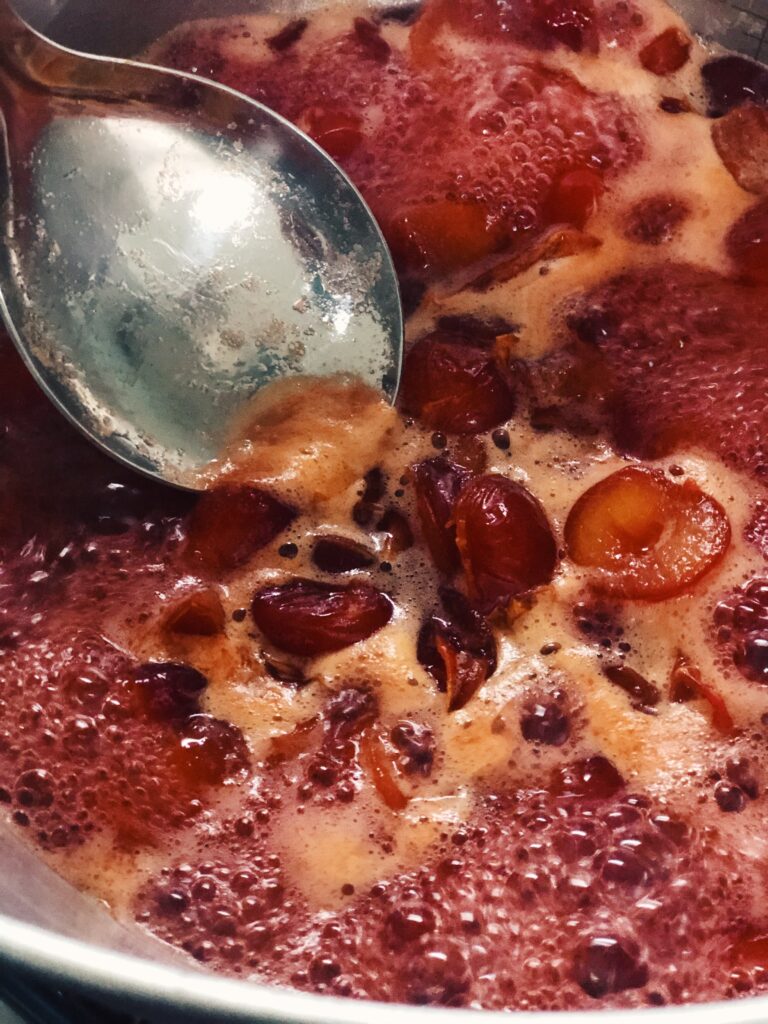

Skimming the scum from the liquid
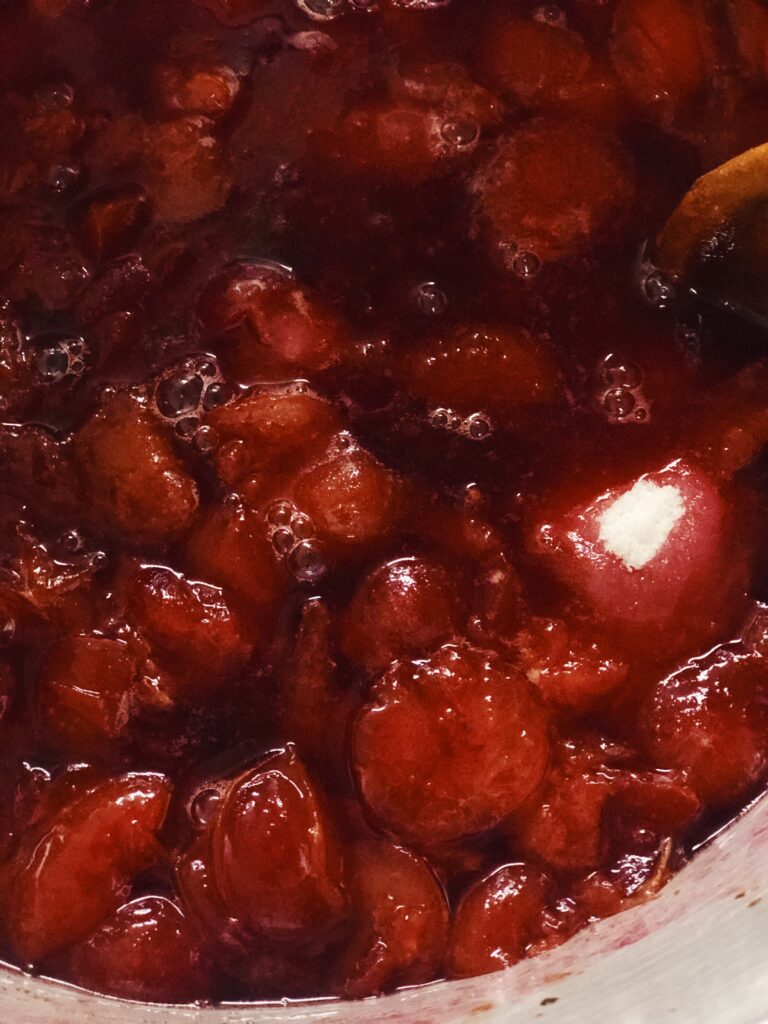

Boiling away and almost ready
There are copious amounts of information available to those seeking the skills and techniques to make jam. I know this because I have read a great deal of it! Consequently, I feel there can be too much information sometimes, which can cloud the simplest of tasks. Of all the stone fruits to jam, I believe that plum is the easiest! Plums have a considerable amount of natural pectin which assists in the setting of your jam. Thus, you only really need to add some water and sugar to make plum jam. The addition of the water is to help soften the skin of plums while cooking; before adding the sugar. If not, the sugar hardens the plum skin and will result in rubbery hard skin plum jam.
The setting point; jam is ready when it reaches ‘setting point’. This is usually around 104.5°C on a sugar thermometer. I have never used a sugar thermometer to test when my jam is ready. I use my eyes and look for the signs – the jam will start to reach setting point when the fast, frothy rolling boil, reduces to a slower, more relaxed boil. In addition, the tiny air bubbles disappear and the surface looks glossy while the mixture will thicken. And I can not forget to mention ‘the saucer test’ – perhaps the most reliable indicator for me. You place a saucer or small flat plate in the freezer. When you think your jam is ready, place a spoonful amount on the cold plate. If it runs slow, it’s set! After 30 seconds draw a straight line with a spoon or finger. If the line remains, you’ve reached your setting point. The jam is ready to be stored in your hot sterilised jars. Keep in a dark spot in your pantry for 12 months (or more). Store in fridge once opened.
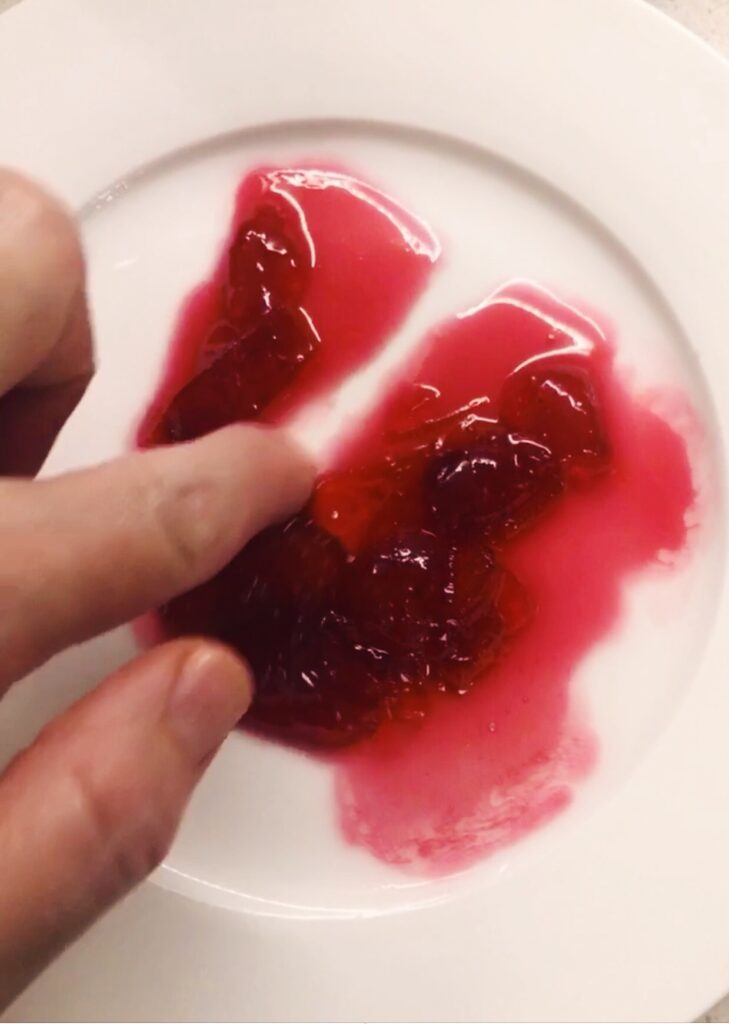

Setting Point test: When a trail is formed and remains: your jam is ready!
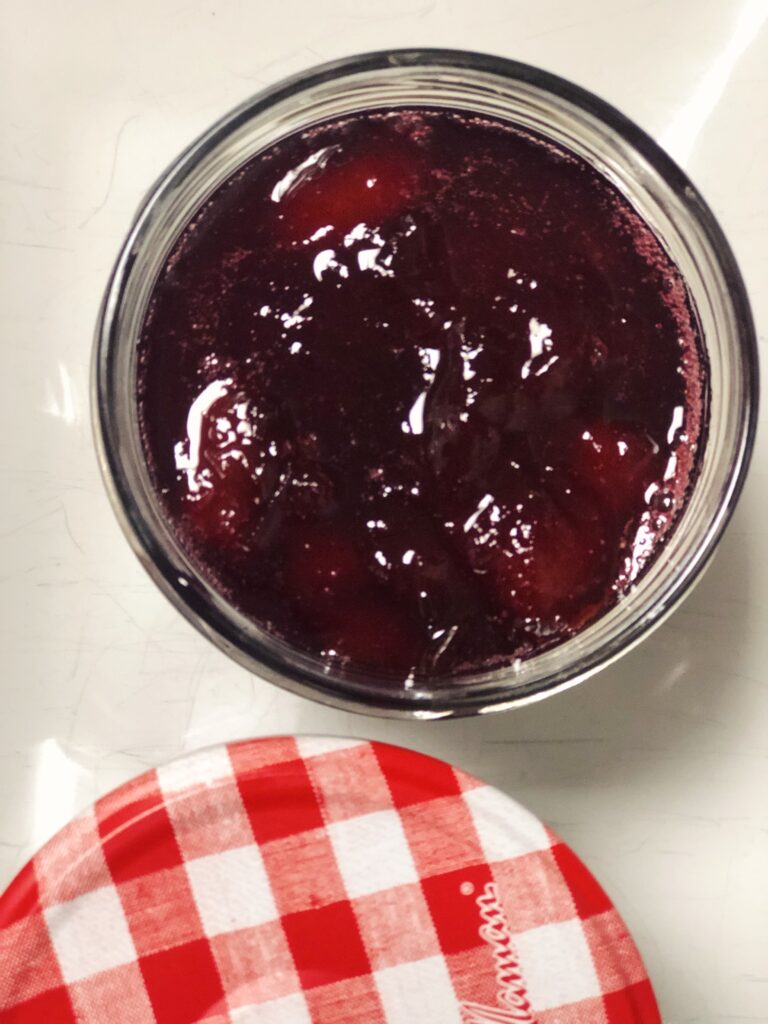

Marmellata di Prugne
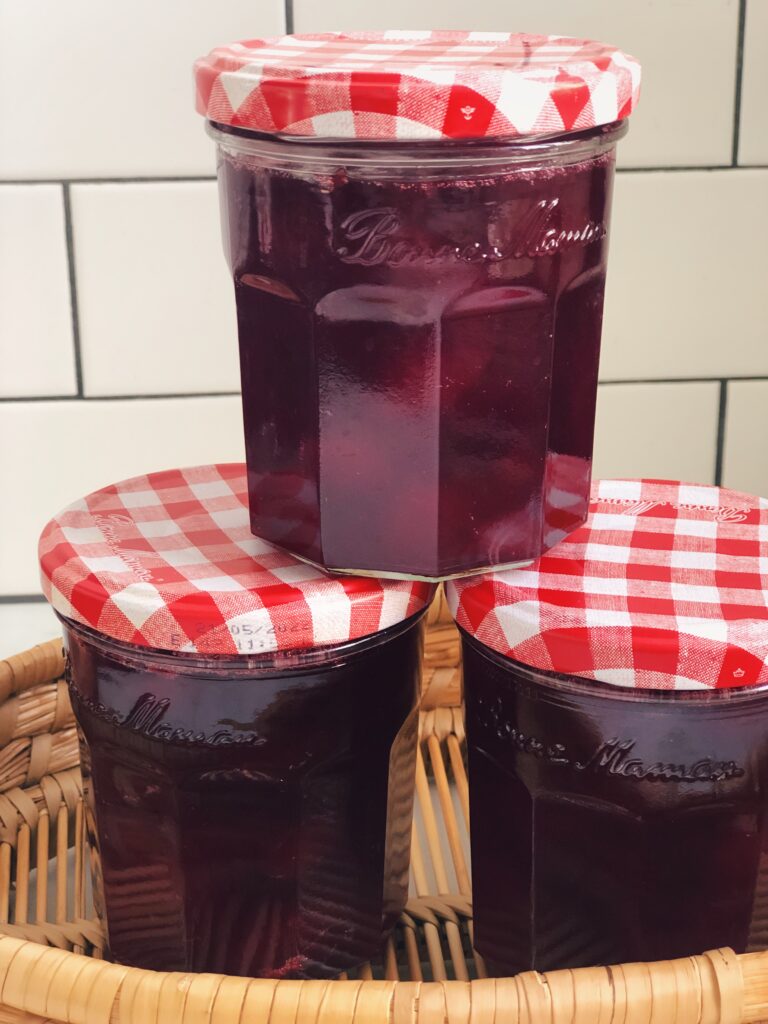

Marmellata di Prugne
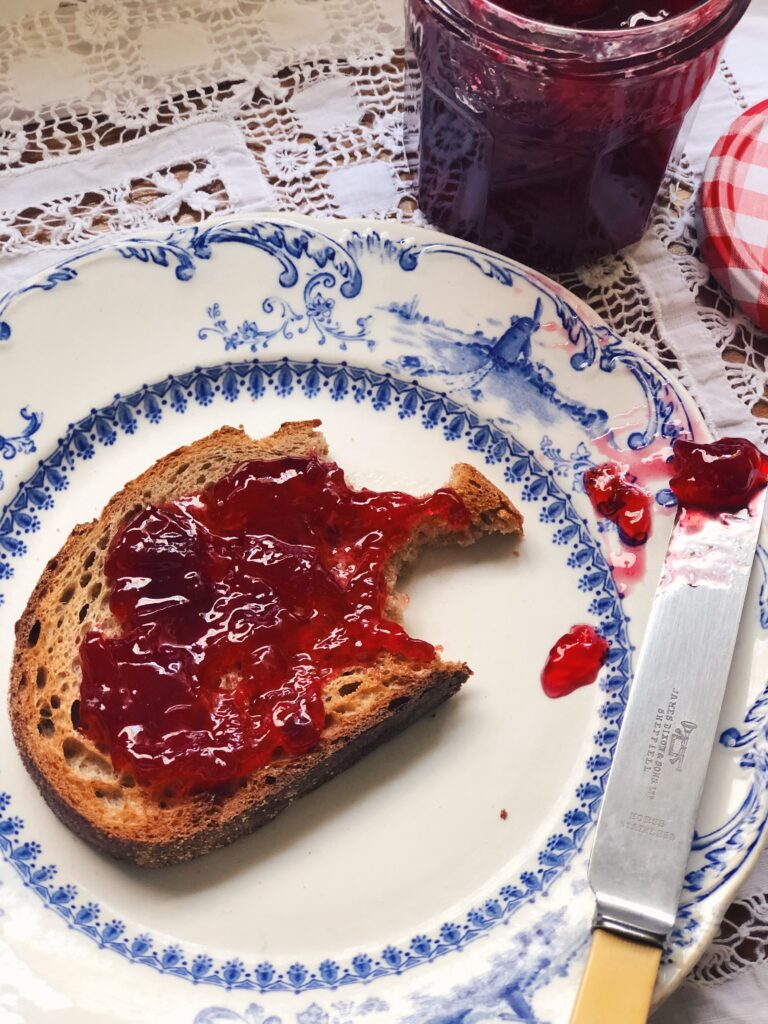

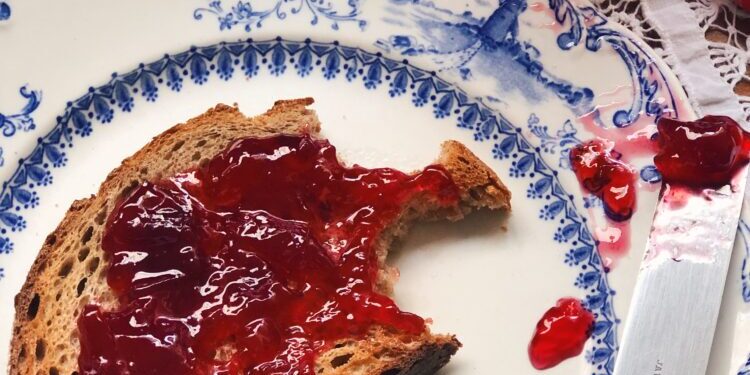
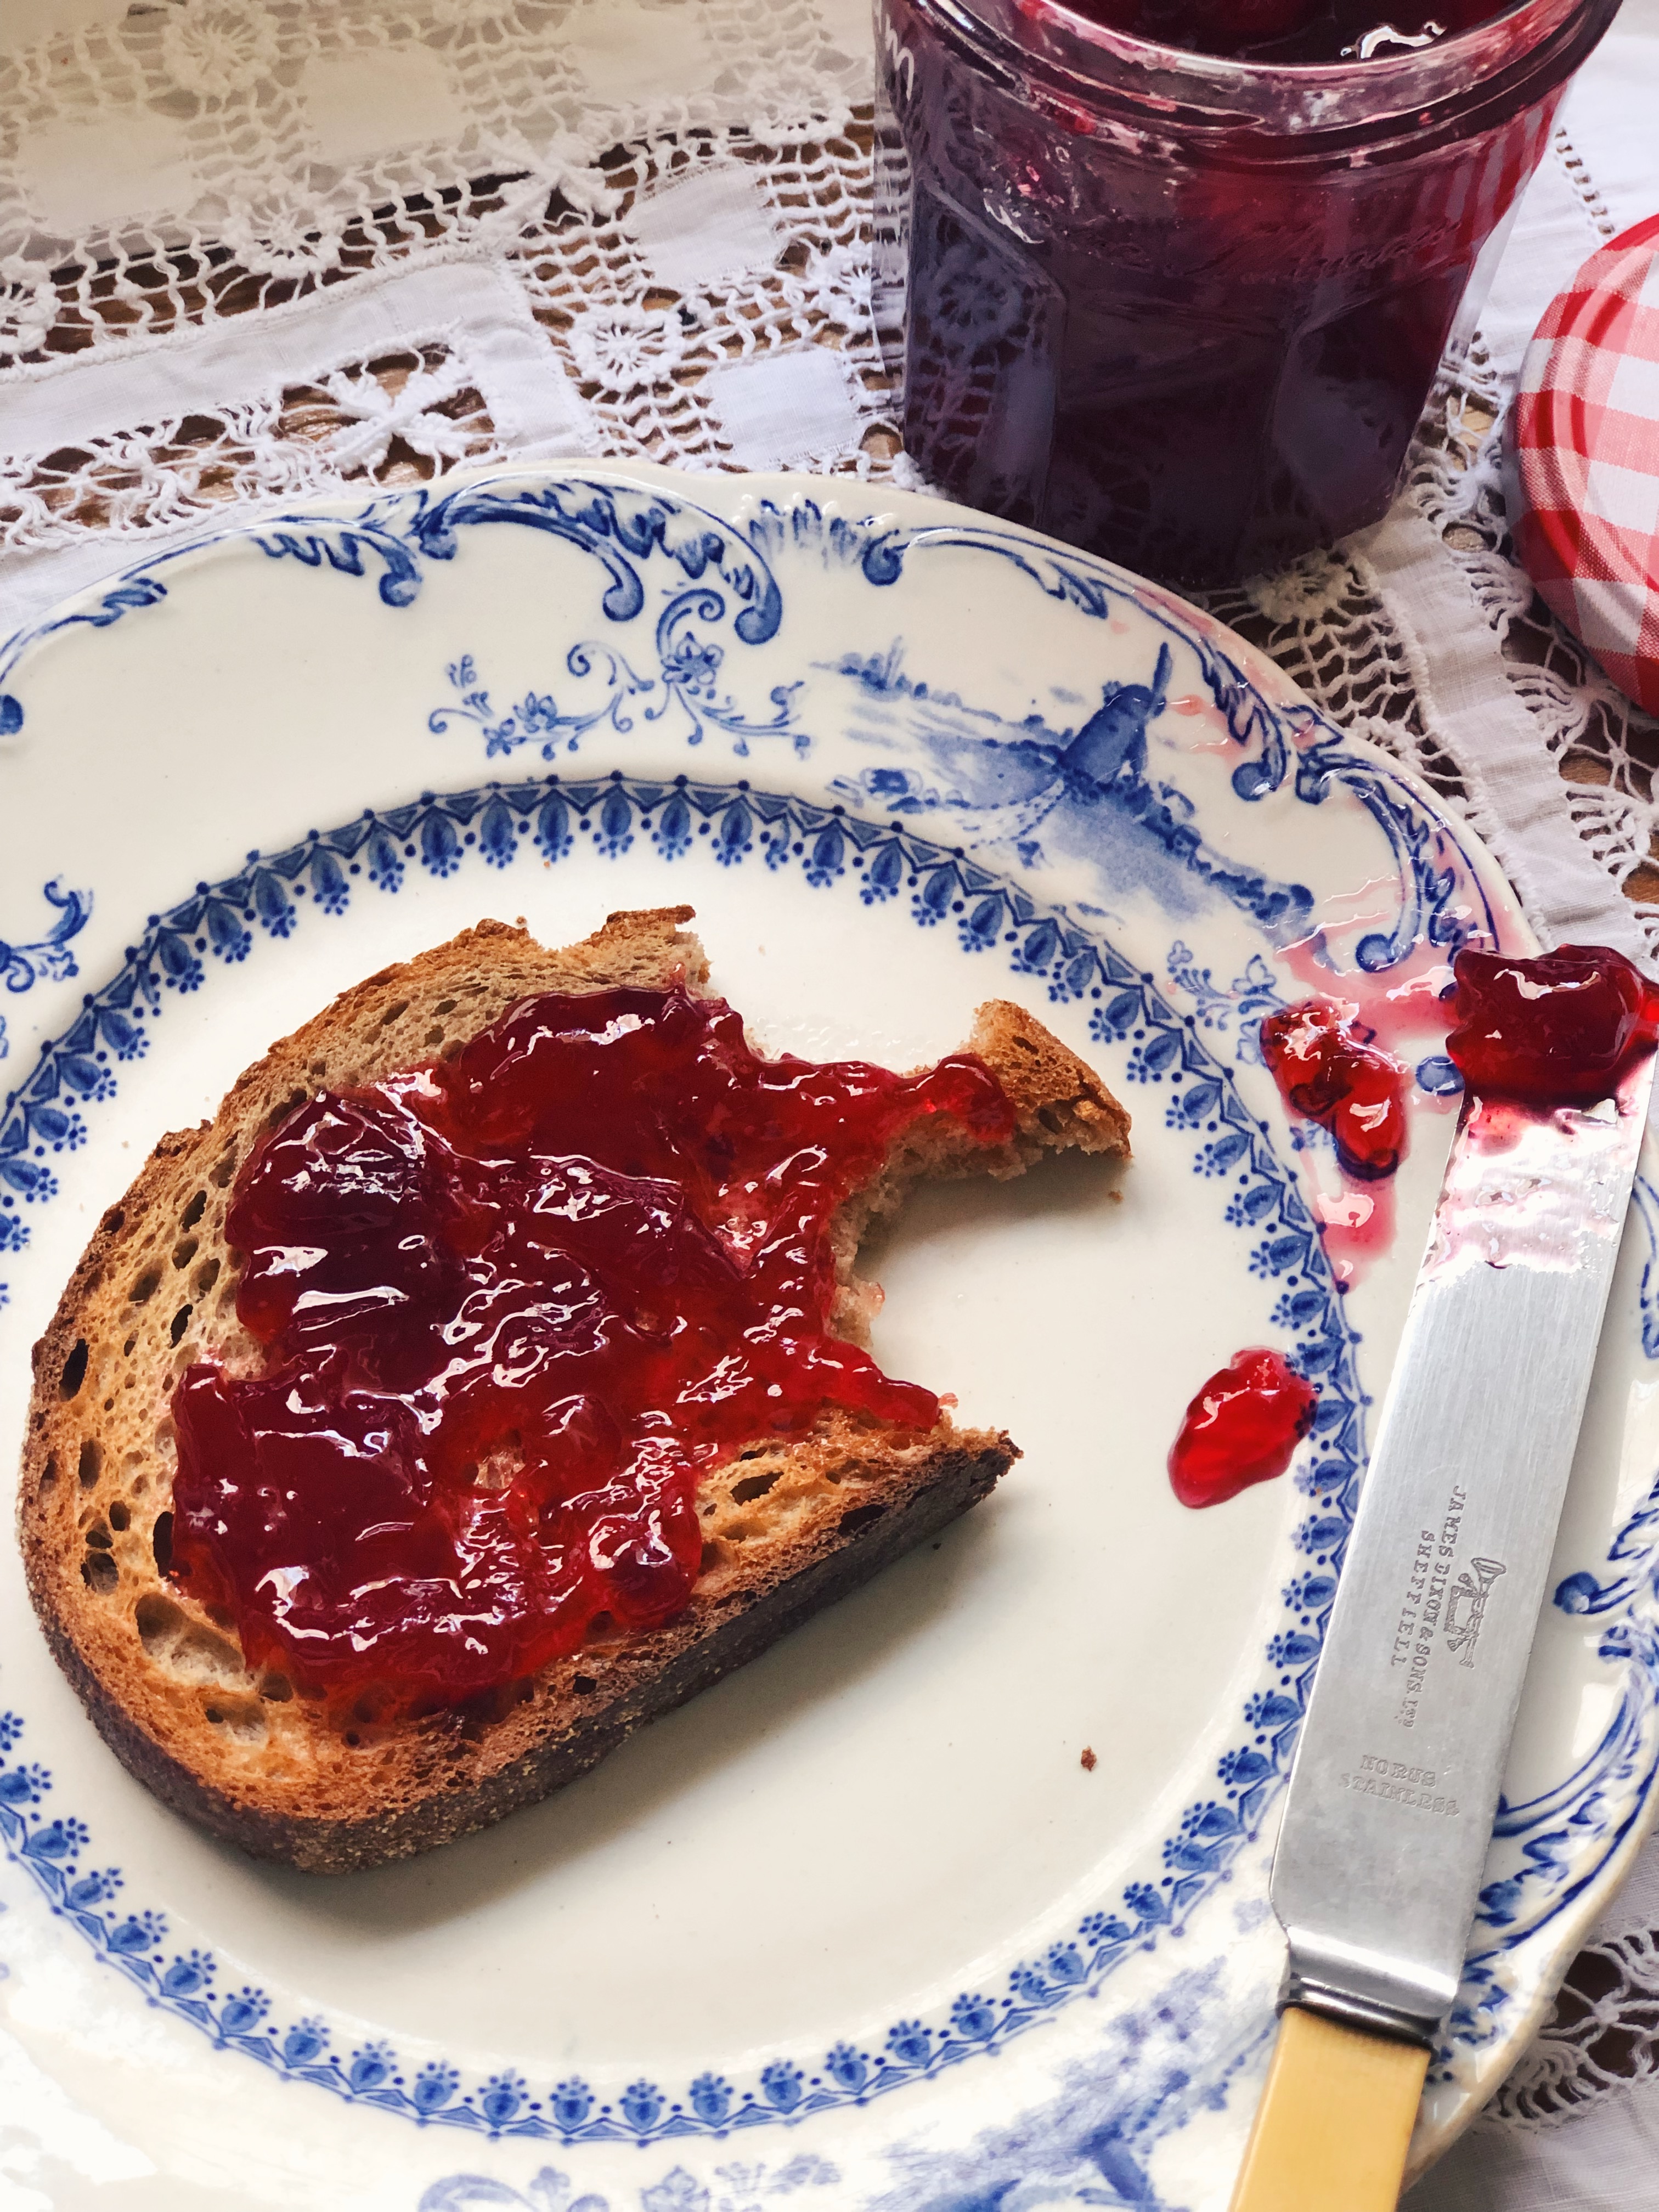
Colazione (Breakfast) with homemade plum jam!
Ingredients
1kg plums, halved and stoned
700g castor sugar
270ml water
Method
- Place the plums and water into a preserving pot and bring to a gentle simmer to soften the skins of the plums. This may take anywhere between 10 to 20 minutes depending on the ripeness of your plums.
- Add the sugar and stir using a wooden spoon until dissolved.
- Turn up the heat and bring to boiling point. Boil rapidly, stirring regularly, until setting point is reached. (NOTE: The setting point; jam is ready when it reaches 'setting point'. This is usually around 104.5°C on a sugar thermometer. Or else look for these signs: the jam will start to reach setting point when the fast, frothy rolling boil, reduces to a slower, more relaxed boil. In addition, the tiny air bubbles disappear and the surface looks glossy while the mixture will thicken. Also 'the saucer test' - you place a saucer or small flat plate in the freezer. When you think your jam is ready, place a spoonful amount on the cold plate. If it runs slow, it's set! After 30 seconds draw a straight line with a spoon or finger. If the line remains, you've reached your setting point. The jam is ready to be stored in your hot sterilised jars. Keep in a dark spot in your pantry for 12 months (or more). Store in fridge once opened.
Buon appetito!

